


We live in a world where everything is already digital, so anyone who wants to succeed must invest in their online presence. Each of us uses the internet every day. That is why businesses need to focus on online presence.
Nowadays, we control everything from our smartphones. Mobile applications are a crucial part of our lives. Your potential customers use their phones every day, and if you make an application for your business that is useful and if you like it, you will have a great chance of success.
There is no other thing that affects our lives as a mobile device. They have a huge effect on the way we live, work, communicate, or have fun. It means that the possibilities for a mobile application are countless. There is every chance he will succeed. This is the best time to create a mobile application.
In our blog, you can find everything essential for mobile development and also the best technologies for developing mobile applications.
Uploading an app to the App Store isn’t as easy as pressing a launch button, but it’s not as complicated as it may seem. In this blog post, we will explain the process step by step.

How long does it take to publish an application
You need to create an Enterprise or Individual account to publish your application. To maintain accounts in both stores, you must pay an annual fee. An apple account costs $99, and a Google account costs $25.
If your submission is incomplete, the review time may be further delayed, or your application may be rejected. Once your application has been reviewed, its status will be updated, and you will get an email. The examination process takes 3-4 working days, but sometimes it can take more – a few weeks.

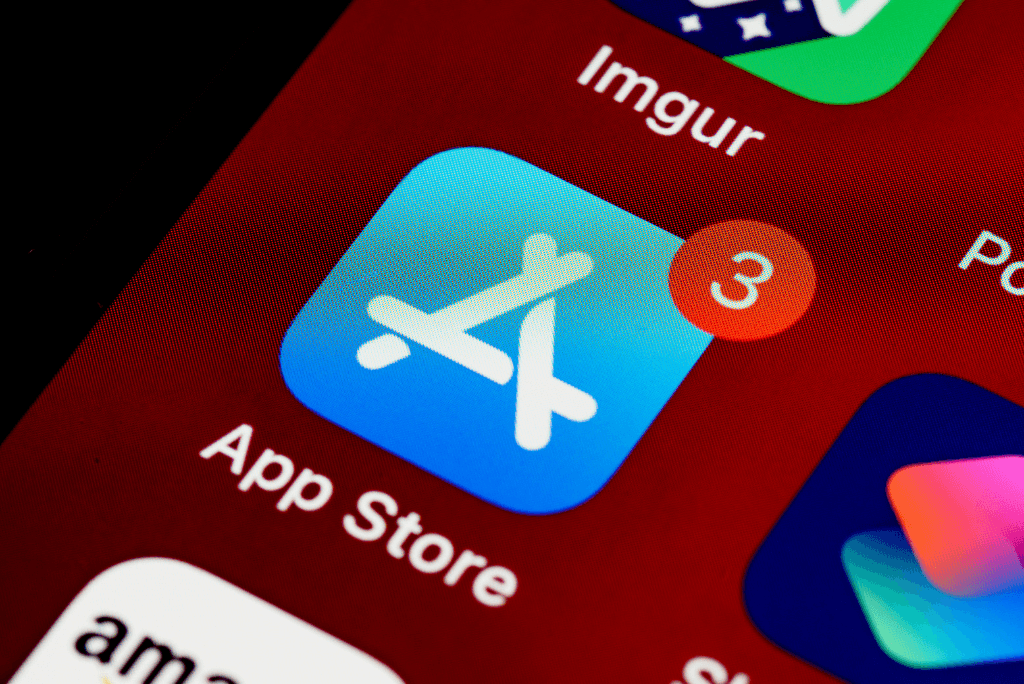
How to upload your app to the App Store
Apple Developer Program
To be able to upload apps to the App Store, you must register in the Apple Developer Program. It costs $ 99 a year. It gives you various benefits such as:
- Access to submit apps to the App Stores on all Apple platforms
- Ability to create Safari extensions and list them in the extensions gallery
- Access to Beta versions of Apple software
- Testing tools like TestFlight
- App analytics and advanced app capabilities
Please note that your apps will be removed from the App Store if you do not renew your membership next year.
Prepare your application
Make sure your app follows the App Store instructions.
Before your app can be uploaded to the App Store, it must go through an app certification process. It sounds scary, but it’s someone testing your app and making sure it meets the App Store instructions before approving it for publication in the app store.
In addition to following the instructions, you need to make sure that your application is error-free and crash-free. If the reviewer can reliably crash your application, he will not give you a pass.
Create your App Store listing via App Store Connect
To publish an app, go to the My Apps menu and select the “+” option to create a new app. If you want to send an update to an existing application, the steps are similar, but instead of adding a new application, select an existing application.
- Name and category of the application
You need to fill in all the information about your application. Name, description, category, minimum audience age, privacy policy, and support URL.
If your app is based on social media and requires a login and account, you must provide a test account and password for the Apple Reviewer.
- Application privacy policy
You will also need to provide a privacy policy URL. If you’re not sure how to write one, search Google’s “Application Privacy Policy” and you’ll see many samples and privacy policy generators that you can use.
- Pricing of the application
Set the price you choose.
- Application launch options
You can decide how to run your application after the certification process.
Manual: You will need to log in to the App Store Connect and release it
Immediately: will be released as soon as it is certified
Date: will be published on a specific date (if certified)
Take screenshots
The quickest and easiest way is to launch your app in the iOS simulator (for the screen size you need), go to the screen where you want to take a screenshot, and then press CMD + S on your keyboard. It will place a PNG image file on your desktop.
You can also use a screenshot generator application. All you have to do is choose a template, upload your screenshots (which you took with the iOS simulator) and add your custom text. You can then export all your screenshots at once.

Archive and upload your app using Xcode
Before you can submit your app for review through App Store Connect, you need to upload the build through Xcode.
- In Xcode, select Generic iOS Device as the deployment target.
- Choose Product from the top menu and click on Archive.
- The Xcode Organizer will launch, displaying any archives you’ve created in the past.
- Make sure the current build is selected and click on Upload to App Store in the right-hand panel.
- Select your credentials and click Choose.
- In the next window that appears, click on Upload in the bottom right-hand corner.
A success message will appear when the upload has been completed. Click Done.
Submit your app for review
Now it is time to add your app for review. If you have already taken care of everything so far and have completed all the steps, your application is ready to send. Select the save button in the upper right corner of the screen and the “Submit for Review” button should turn blue. Your application will then be on the waiting list for Apple’s certification and review team. Your app should now have a yellow marker. Then you have to wait for the review. Once your app is approved, you will receive an email.

These are all the steps you need to follow to upload your app to the App Store. They are not complicated to follow, but you have to follow them all correctly. It is not as easy as pressing a launch button, but it is not as complicated as it may seem. Once you follow the steps, you will succeed without any problems. If you have any additional questions, you can contact us.
If you want to know more about mobile application development, you can read our blog post entirely dedicated to this. If you are interested in the services that we at Dreamtech offer for mobile development, you can view them here. Book your appointment for a free consultation if you want to know how we can help you.